Jarmo, I love what your doing to create several standalone utilities. I have been learning the pixinsight scripting which I had put off because of autointegrate. i wanted a banding reduction script that is faster than the one in Autointegrate. I succeeded this week and have a simple interface that prompt for input and output paths and banding reduction parameters. Plus its much faster than the code you are using in autointegrate. It also copies the banding reduction engine and runs it in the script, but I’m just passing the imputs to it so it doesnt output all that row by row information. Each image takes from 1 to 4 seconds to process. I would be glad to contribute it to your effort if interested.
It would be great if you can contribute your code to AutoIntegrate!
If you want to embed it to AutoIntegrate yourself you can do that in GitHub using a pull request. Or if you like, I can do the embedding if you send me the source code or point me to it. I will of course credit you with the code so that is not a problem.
The banding reduction used in AutoIntegrate is the from the old CanonBandingReduction script. If you have something faster it sounds really good.
Jarmo, not sure i am upto integrating it with your script. I still have a steep learning curve in github. However, Im sharing a link so you can get to it on google drive. let me know if you can use it. It is very simple. The script stands alone and will prompt for input and output folders, and banding parameters, then goes at loading files that are d.xisfs processes them and writes them out as cb.xisf. The logic in the code will write to the input folder if output is left blank. I should be a simple matter to pass the autointegrate parameters and the AutoOutput folder to it and let it go. Here is the link.https://drive.google.com/file/d/163JzSUs_OrB3TxmkIkk5iC4gqKE8i2TE/view?usp=sharing
I believe the problem was that debugging mode was enabled in the AutoIntegrate code for banding reduction. I have fixed that one and also tried to fix the tutorial window size problem. It would be great if you can try it out and check that problems are fixed.
I have pushed a new version to my debug repository at https://ruuth.xyz/debug/autointegrate/
So you need to update the repository link in PixInsight and check for updates.
I tested it tonight. It works fine. It is funny that from the very first version that included banding reduction debug was enabled, I had never looked at the messages that were going by, because they were off the screen before i could and it added another 20secs per image or so of processing. Very Good. I guess I need to remove “debug/” from the repository link.
Thanks for veryfying the fix! It was a bit unfortunate that I had not noticed the problem. I have the same problem that when run as part of the full processing the messages just disappear. On the positive side, you now have experience to build PixInsight scripts!
I have pushed a new test version to my test repository at https://ruuth.xyz/test/autointegrate/
The debug repository is something I just randomly update. The test repository I use for new versions before I push them to the main repository. It may take some time before I will update the main repository so I suggest you switch to the test repository for now.
Did you check the tutorials, do they work better now?
Yes, the tutorials are working better, as the window with explanations is scaling with the size of the presentation. The only problem is it occasionally covers up the yellow highlighted target being discussed. I see its centering on the left. The anchor appears to be the center of the window. If you could limit the width of the window and let it grow downwards, perhaps with linefeeds to limit the length of the text to the horizontal size, that would be more consistent. If that can be done it can be located more to the left.
I tried to make the tutorial dialog fixed width, maybe it helps.
I have pushed a new test version test3 to my test repository https://ruuth.xyz/test/autointegrate/ and also to the debug repository https://ruuth.xyz/debug/autointegrate/
When I run pixinsight i load a custom config by loading a default project which has my workspace. Pixinsights default text sizes (ui scaling) is smaller than i can easily read so I would bump up the ui by 2x if i could, but cannot. The single most important factor is whether Astrointegrate fits vertically on my screen, since I use it so much. I think we have discussed this in the past. Anyway, I am setting ui scaling with a command line interface when pixinsight runs via .bat file. With my 2K monitor, I can fit the current astrointegrate script on the screen so that the buttons at the bottom are still visible. To do this currently takes -ui scaling 1.35.
In my Tutorial testing of test3, ui scale made some difference in the size of the blue window. I sent some examples with different scaling including 1.00 which I assume is the pixinsight default.
^ui scale 1.00 buttons at bottom fit better, but are still out of the window to the right. The scroll object you added starts out at the bottom of the scroll not the top. I suggest more vertical size to the frame and some horizontal, also center it further to the left of the AutoInt. script window.
^ui scale 1.40 Note that the buttons drop off the screen at bottom.
Hopefully this gives you some idea that makes the tutorial more consistent. Also it would be great if the AI.’s script’s interface could be more dynamically sized at least vertically. Hope this helps.
I pushed a new test4 version to test and debug repositories. I tried to improve the tutorial window scaling. I tried with some --ui-scaling and it worked better for me.
And this question is still valid. Your dialog screen is very tall, do you have a lot of sections open in tabs? Normally that is the reason that makes the dialog very tall. For now I cannot figure out any other reson than having a lot of sectioons open.
I will test 4. typically when i run autointegrate the first time I see the Files|Lights tab first and it displays (empty of files) a full long frame where the files would be listed and it spans the maximum that the AI window spans. That seems to establish the max size of AI script interface and it never changes.
Tutorial is behaving well and everything fits and the scrip interface is working brilliantly. It is now expanding downward as needed and collapsing menus will automatically contract the height of the script window. I think you got it.
I need to use it some to make sure, but it looks and behaves great. I opened it both using the installed shortcut which has a standard ui scaling and with my custom batch job which sets ui scaling to 1.35. Both look good with the interface taking up maybe 60% of the height to start.
Great to hear that it works better now! (although not sure about your last comment)
I have always struggled to resize the dialog window when things change in size. I learned a new function that may or may not help there. But sometimes I still see that the dialog stays too large when sections are collapsed. I am still looking for a better solution.
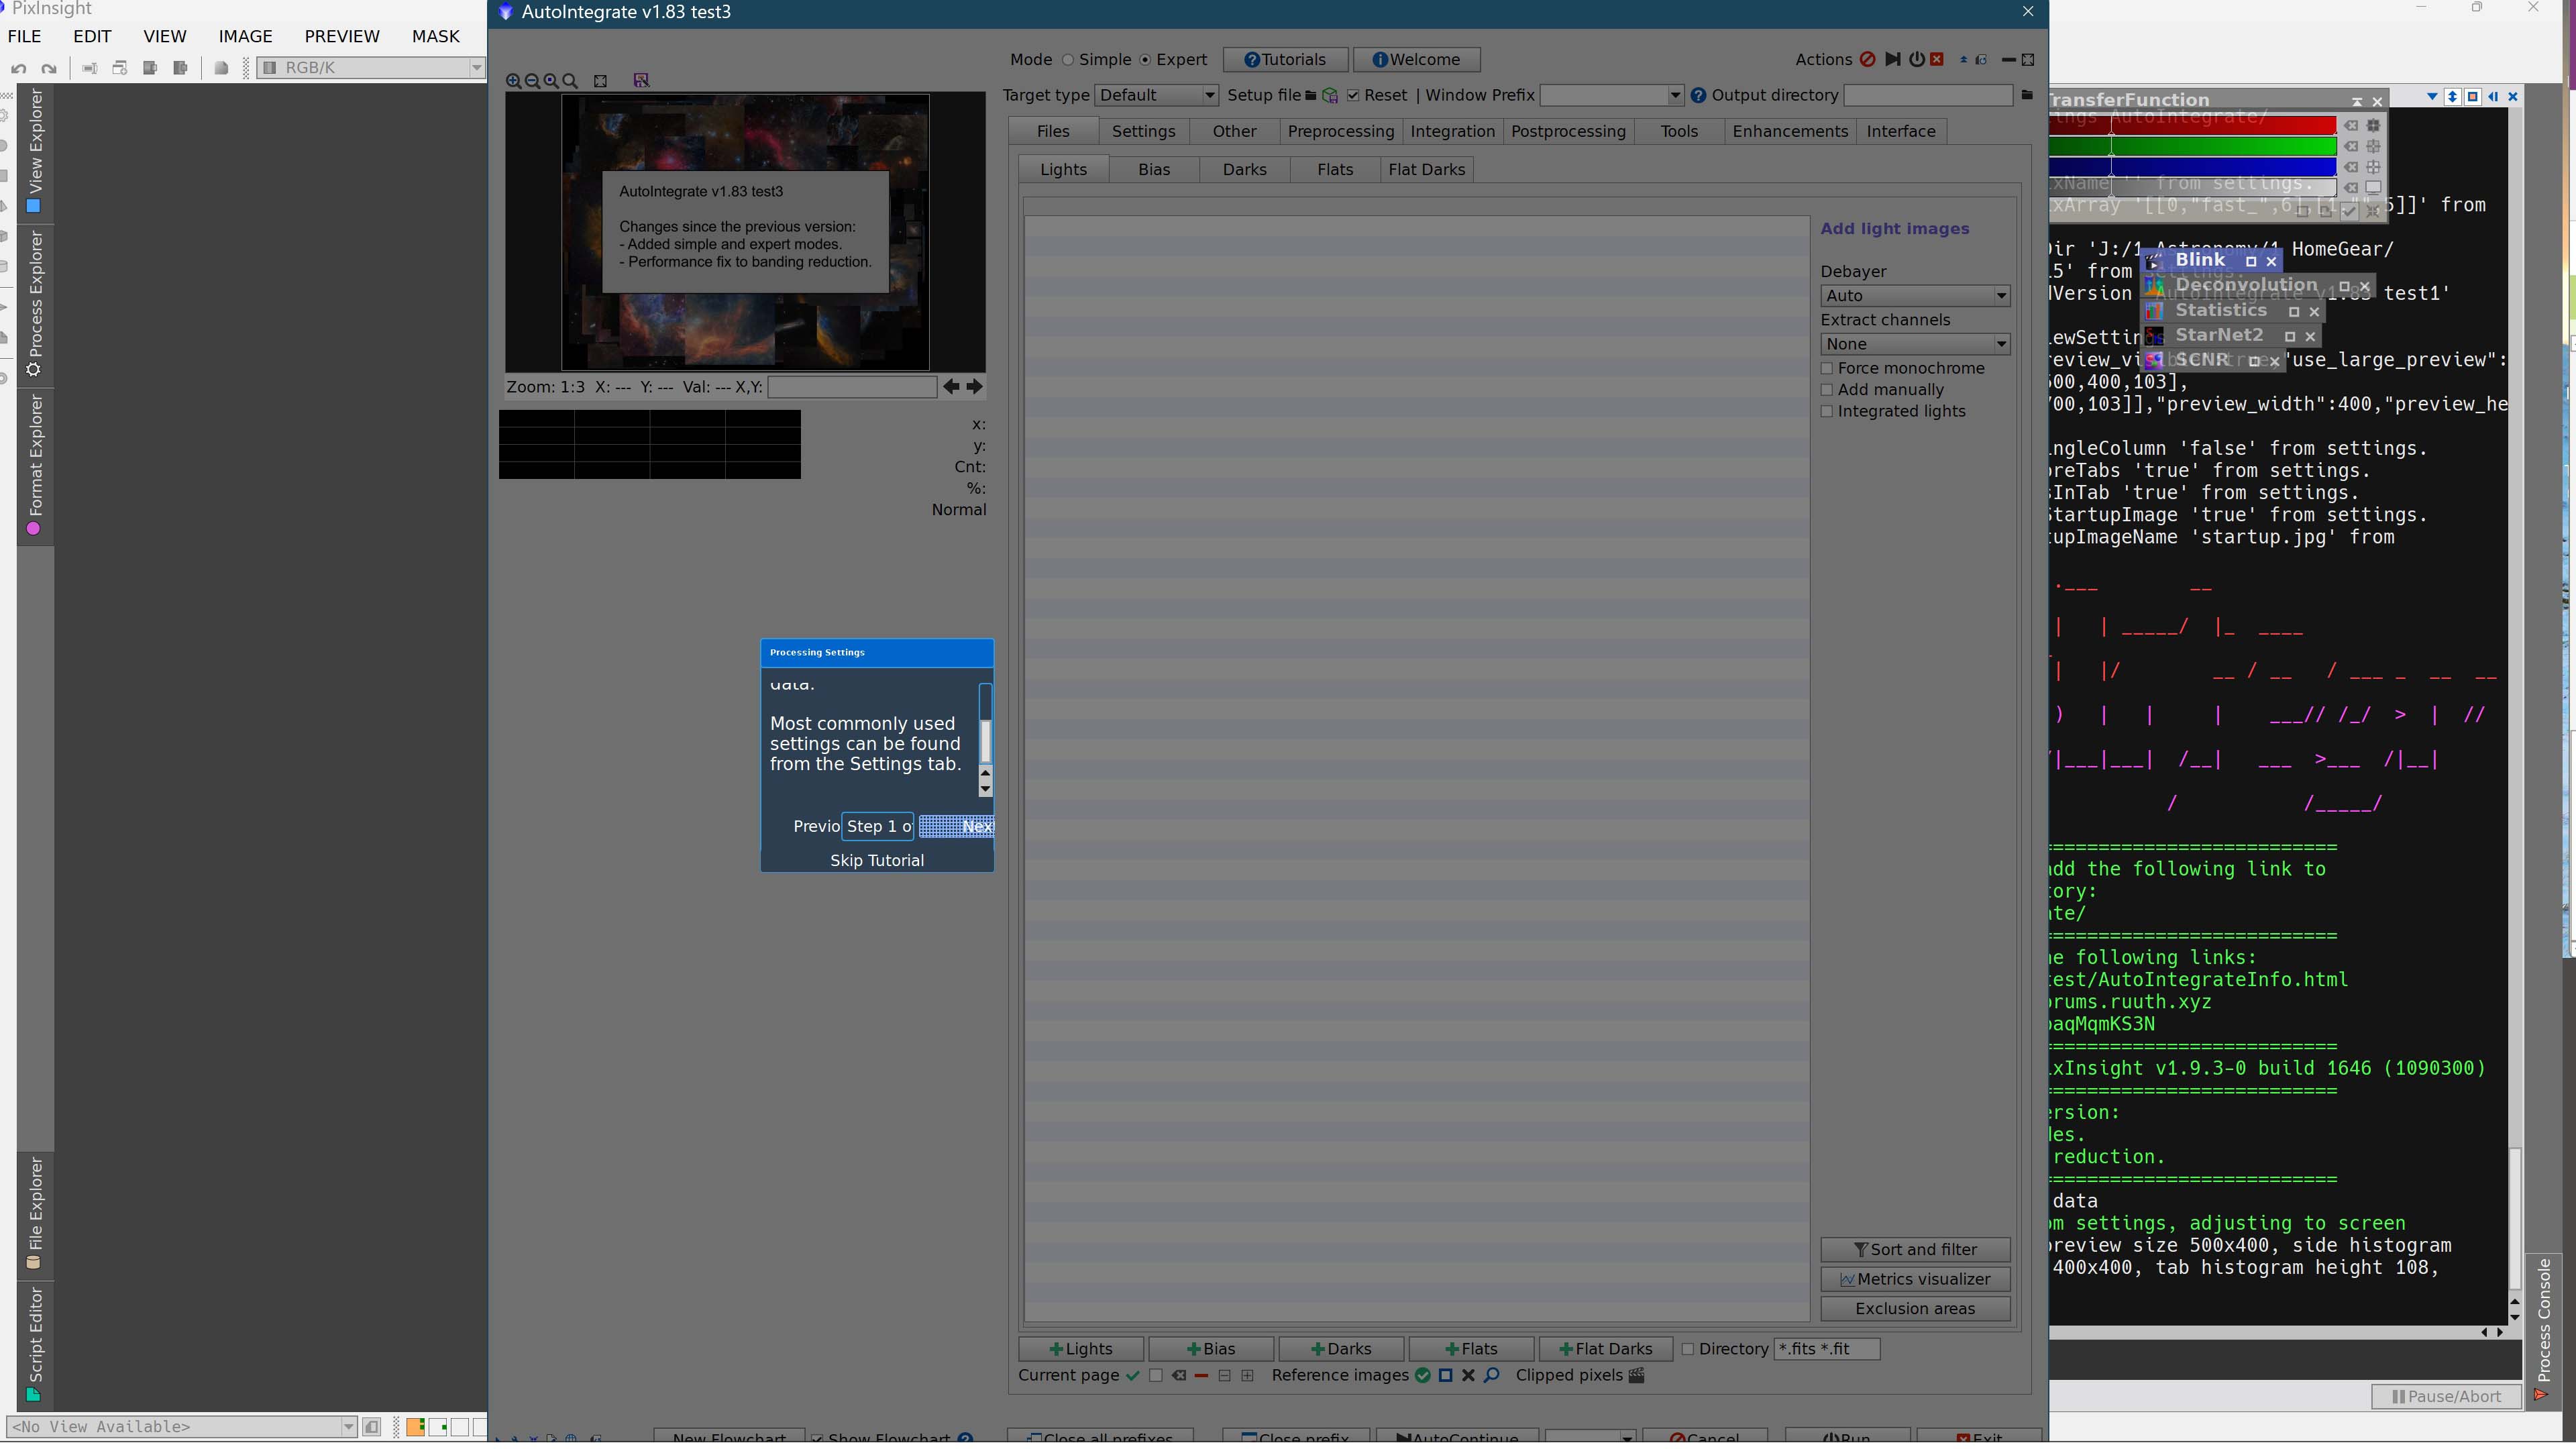
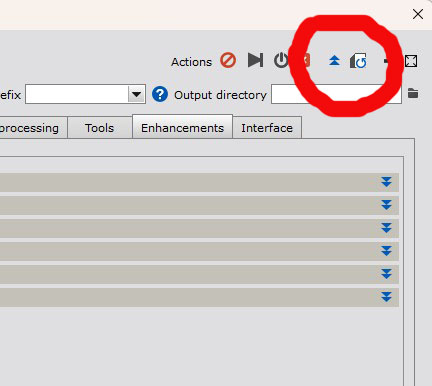
There are two buttons in the top right corner that should help with these problems: Adjust script window to content and Collapse all sections. See the image below.