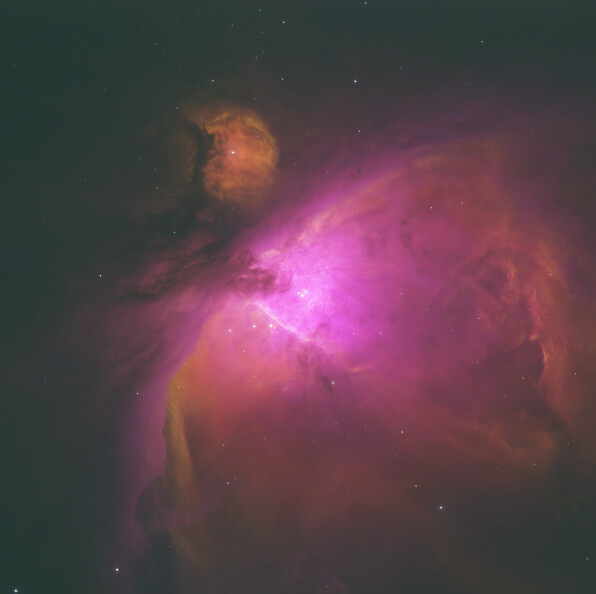
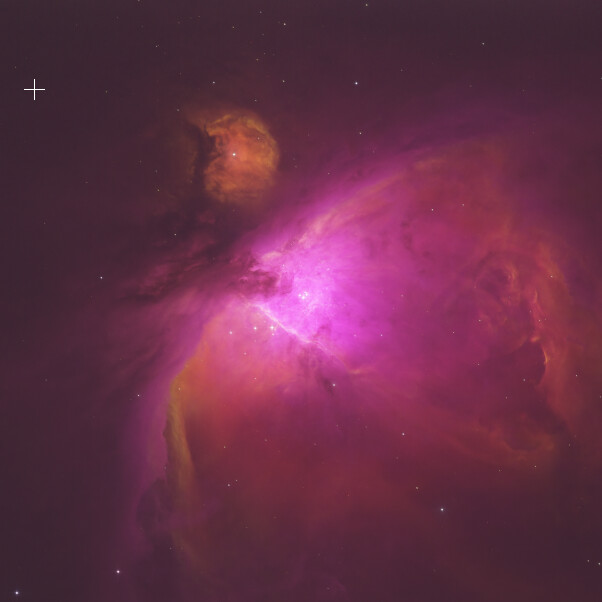
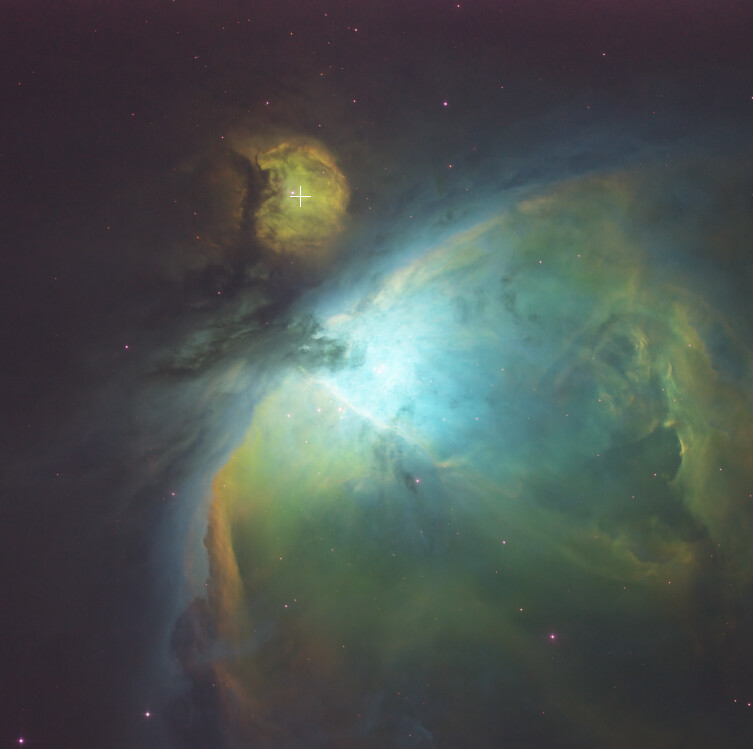
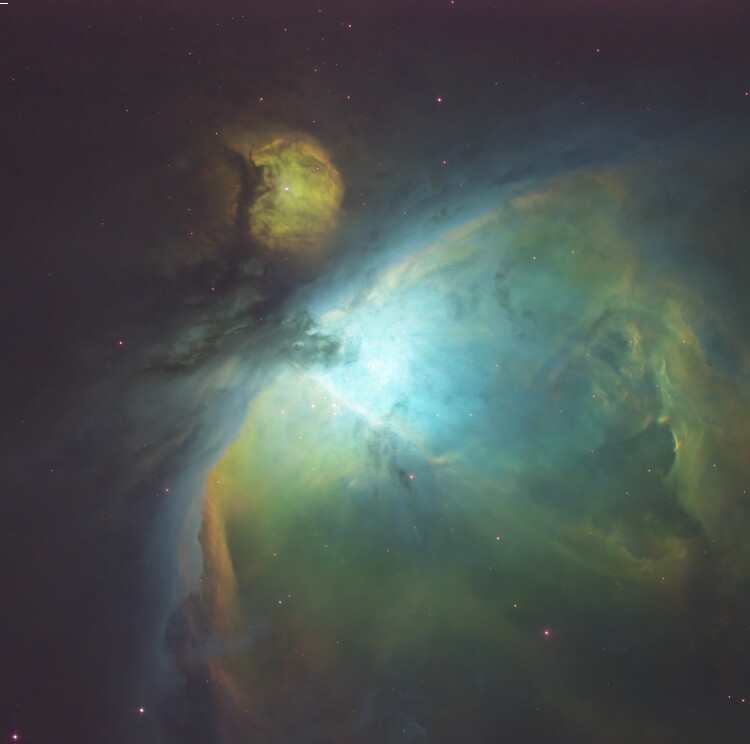
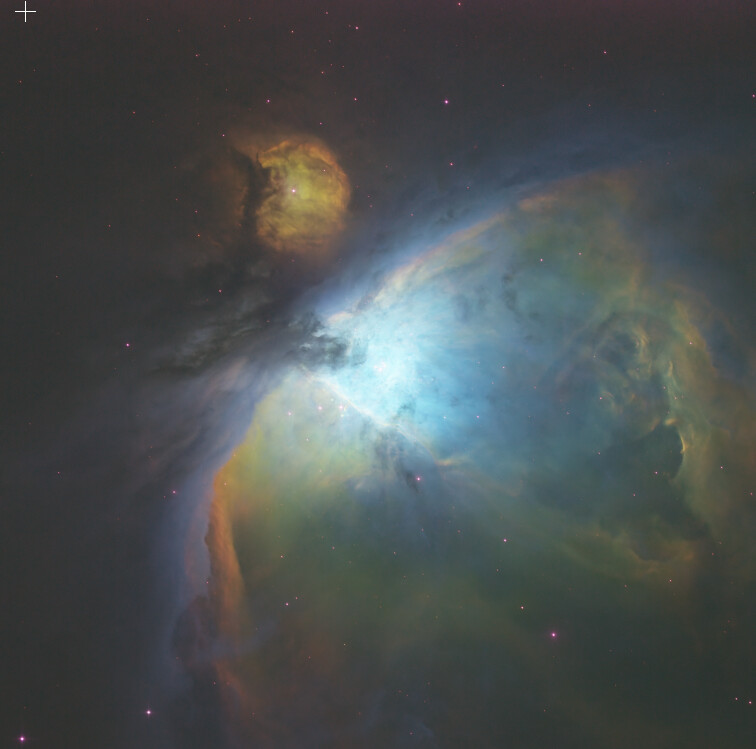
Color Calibration for this SHO image does not seem to have made a difference whereas the difference was very noticeable for HSO images 1 vs 2. I reran this to check and got the same result.
Interesting comparisons. I have not yet had time to watch the video (or the bug you reported).
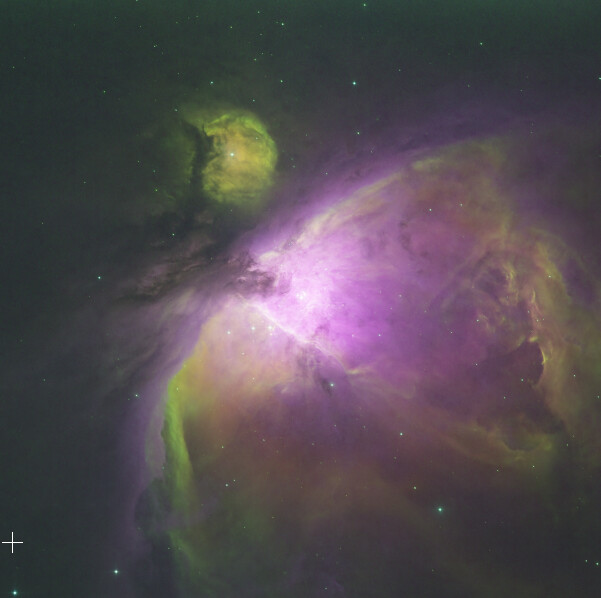
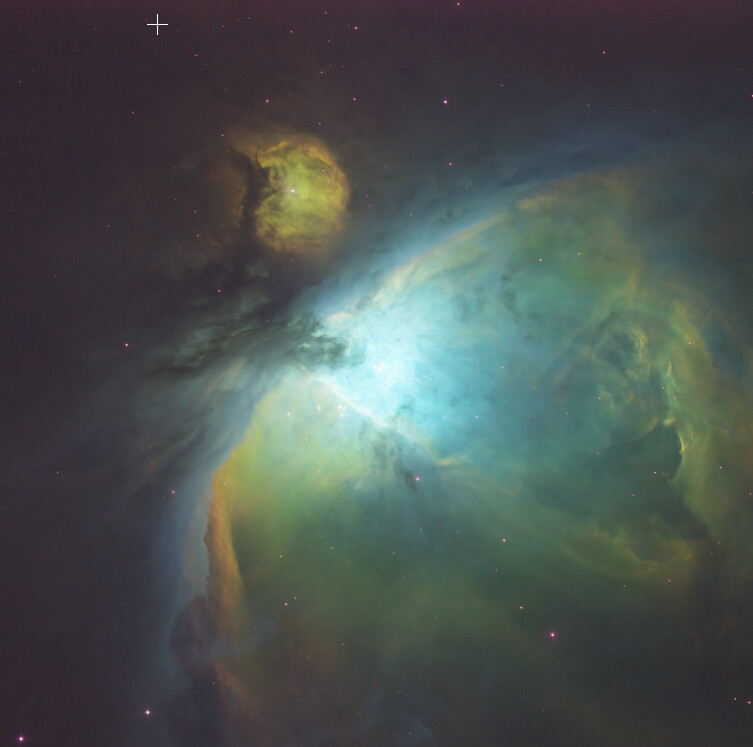
I do not know how the SPCC works but to me it looks like it makes the biggest difference when you have H assigned to red. Of course there are many other factors in AutoIntegrate that change the results like channels Auto/Linked/Unlinked settings.
I have not yet looked into SPCC Background Neutralization. Yet another parameter to the equation
Overall at this point it looks like you get only real differences from SPCC with narrowband when H is assigned to red. And with that you should use AutoSTF channels linking in Auto/Linked mode.
I reproduced the bug/error. Like you said, it happens when you have LRGB data and you have set Use multiple mappings in the narrowband section. When Use multiple mappings is set the code just tries to go through the narrowband batch even if there is no narrowband data available. Need to add some more checks.
That is exactly how I have used it. I saw this video Colorized SHO Palette NO MORE FIGHTING THE GREEN! - YouTube and wanted try it also in AutoIntegrate. Not sure if my ratio between different channels is the best but at least you can get a different colors to the image.
I plan to release a new 1.58 soon. I assume it is more or less working fine for you.
Hi Jarmo,
I disappeared for a while - lots of work issues keeping me very busy.
I haven’t touched PixInsight in almost 2 weeks.
Congratulations on releasing 1.58
I can see that you have been busy introducing new functionality - I am going to process one of our test data sets to get familiar with some of the changes.
Please let me know if there is anything specific to test.
Great if you can check that there are no stupid mistakes in the basic processing.
There is mostly small stuff in the test version except for the histogram. I just wanted to see the image histogram to maybe better understand how different processing changes the histogram. Also added separate image preview size for side preview. I sometimes like to use a big image preview size and then use “More tabs” + “Large preview”. I now have 1000x800 which would be too big for normal preview.
Hi Jarmo,
I hope that you are well.
Congratulations on the new version of AutoIntegrate.
I have not experienced any new errors in my limited processing.
I haven’t been astroprocessing much lately.
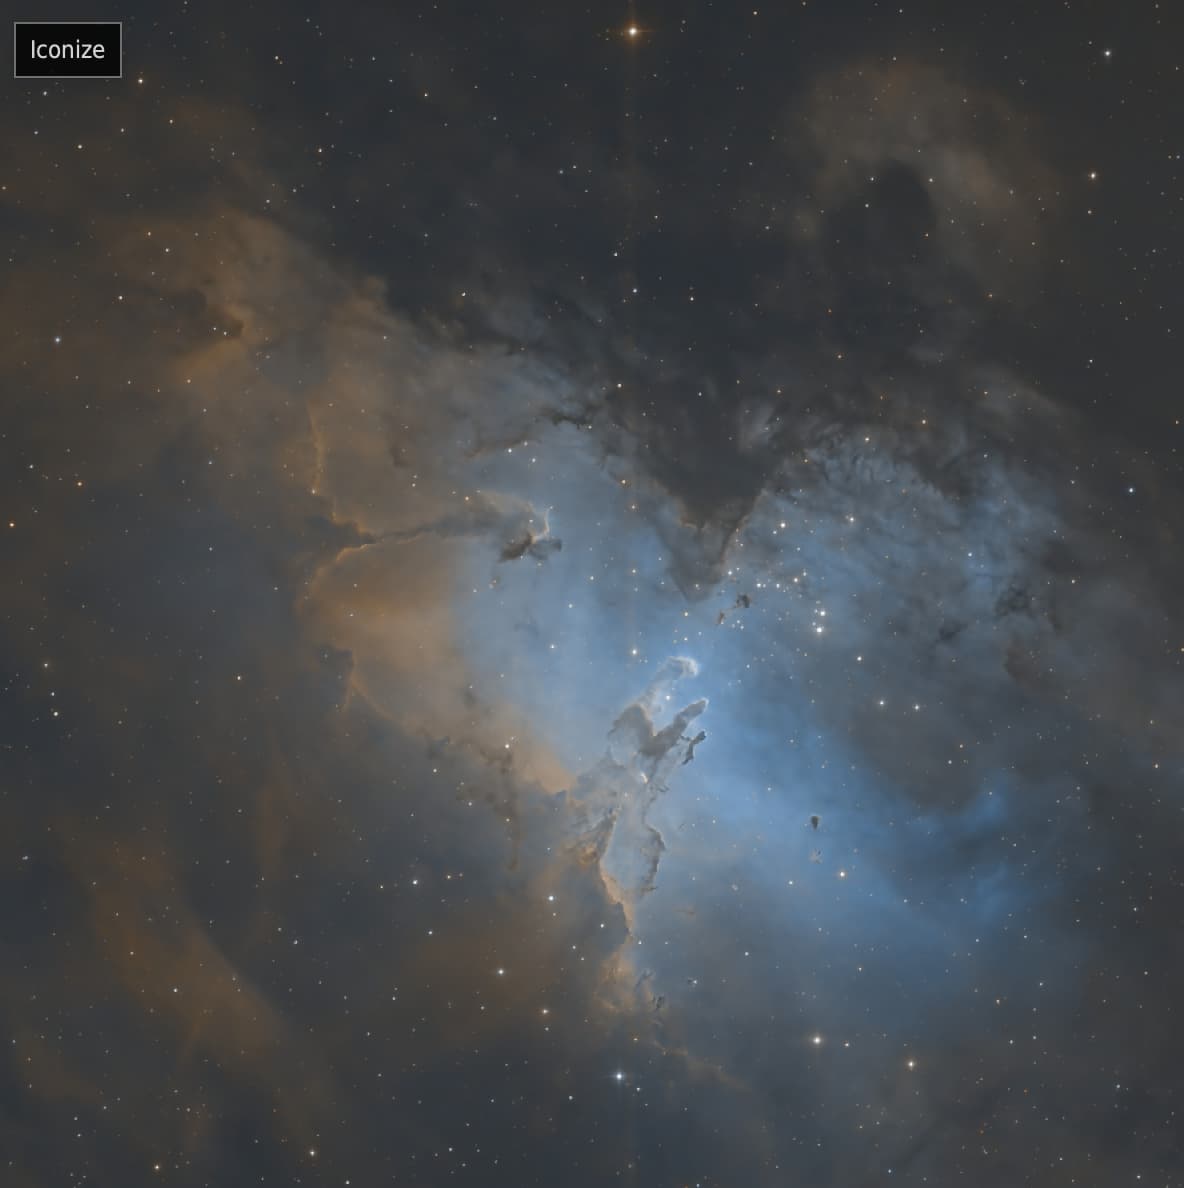
I did notice some new SPA-2-CMOS captures of M51 on Telescope live so I thought I would download and process these as it’s one of my favorite galaxies.
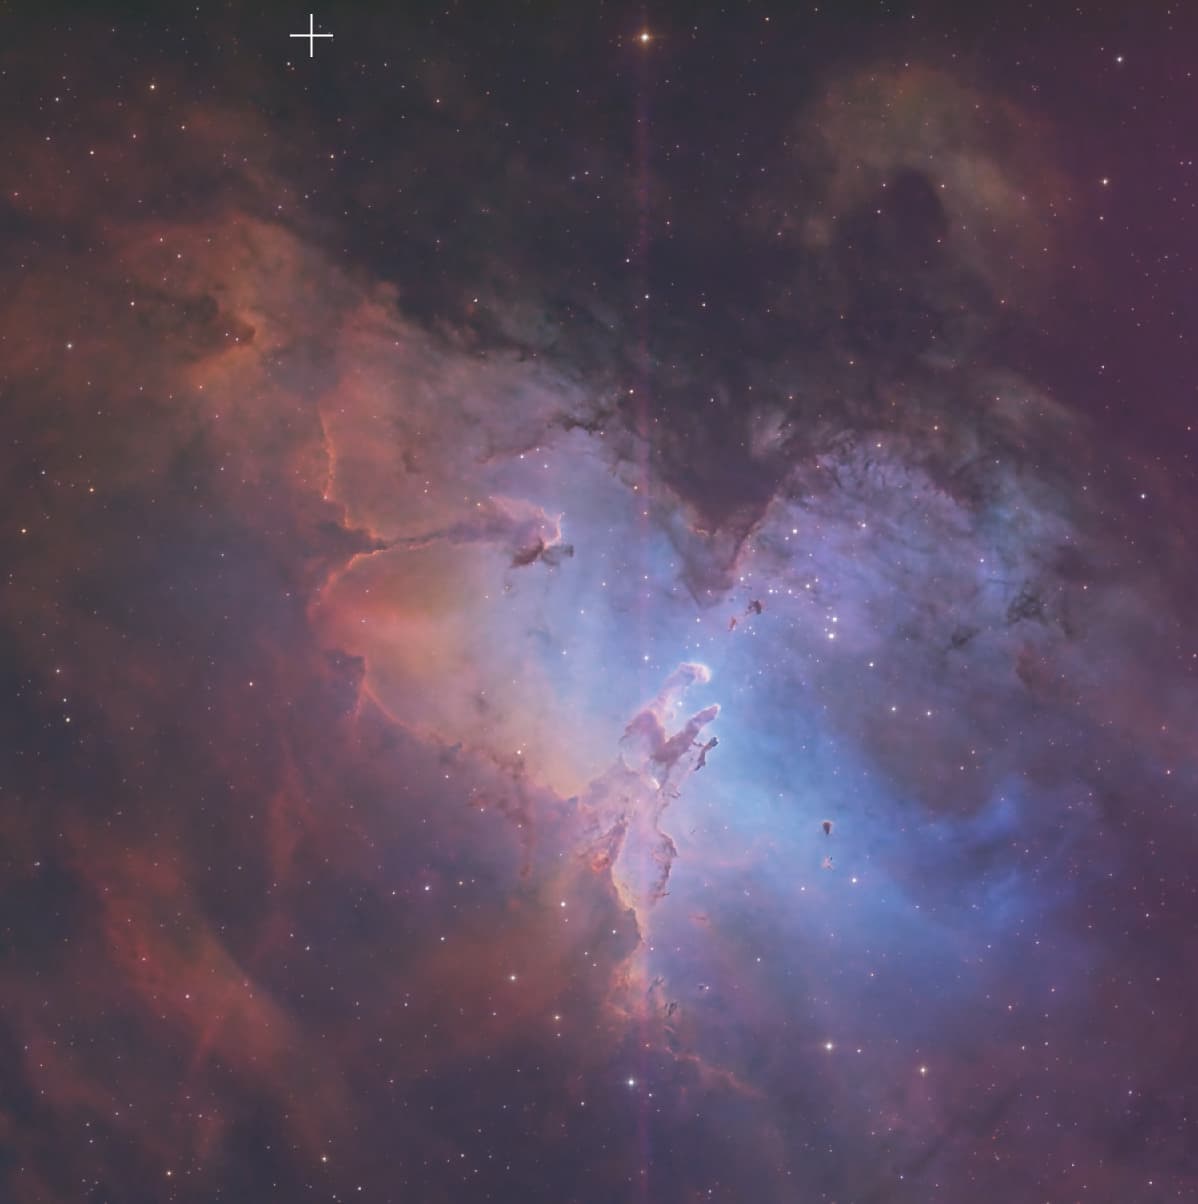
I had some trouble with SPCC. I thought that I would share this with you because I know that you asked me to look at plate-solving a while back.
AutoIntegrate failed on the new M51 dataset when using SPCC.
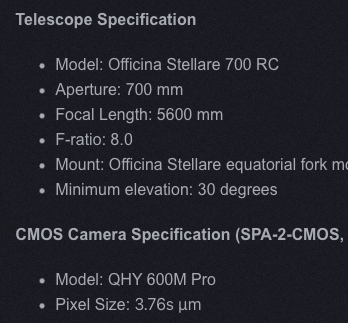
I tried running the ImageSolver script using the defaults - Focal Length for SPA-2 of 5600 and Pixel Size for the CMOS camera of 3.76.
When I open AutoIntegrate and rerun the settings Using a Focal Length of 5600 and a Pixel Size of 15.04 (3.76 x 4 to account for 4x4 binning) plate solving works.
I did get a separate error with SPCC but that turned out to be because “Crop” was selected…removing crop fixed it. I will look at that later (maybe cropping changes the image size and so SPCC fails because it expects a certain resolution…I’m not sure. But removing crop fixed it).
Regarding the Plate Solving issue, my question are:
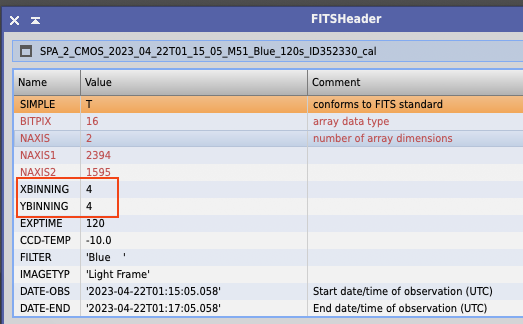
How hard would it be to automatically extract the binning from the FITS header using “XBIINING” and “YBINNING” parameters, and multiply the Camera pixel size by the Bin value?
OR
Add a binning field in the “Image Solving” section of the “Processing” Tab?
I assume that the 2nd option is easier and probably more practical? Also, some images may not have the required information in the FITS header and so we would require the binning field anyway.
The Binning Value should probably default to 1 and the calculation for Pixel Size should multiply binning by the default pixel size for the camera at Bin1 - does that make sense?
Alternatively - leaving the pixel size alone and dividing Focal Length by Bin# instead should produce the same result.
“Added options to set binning for image solver, or detect binning automatically. Binning is used to adjust pixel size to match the captured image. With Auto option binning is taken from XBINNING value from image metadata. None ignores binning and values 2 and 4 are used to multiply pixel size with those values.”
For me SPCC did not work with M51 TL CMOS data and AutoIntegrate but image solver was able to solve the image. I still need to look why SPCC failed. For me disabling cropping did not help. But I pushed this binning change in case you want to check it.